Serves 6-8
Ingredients
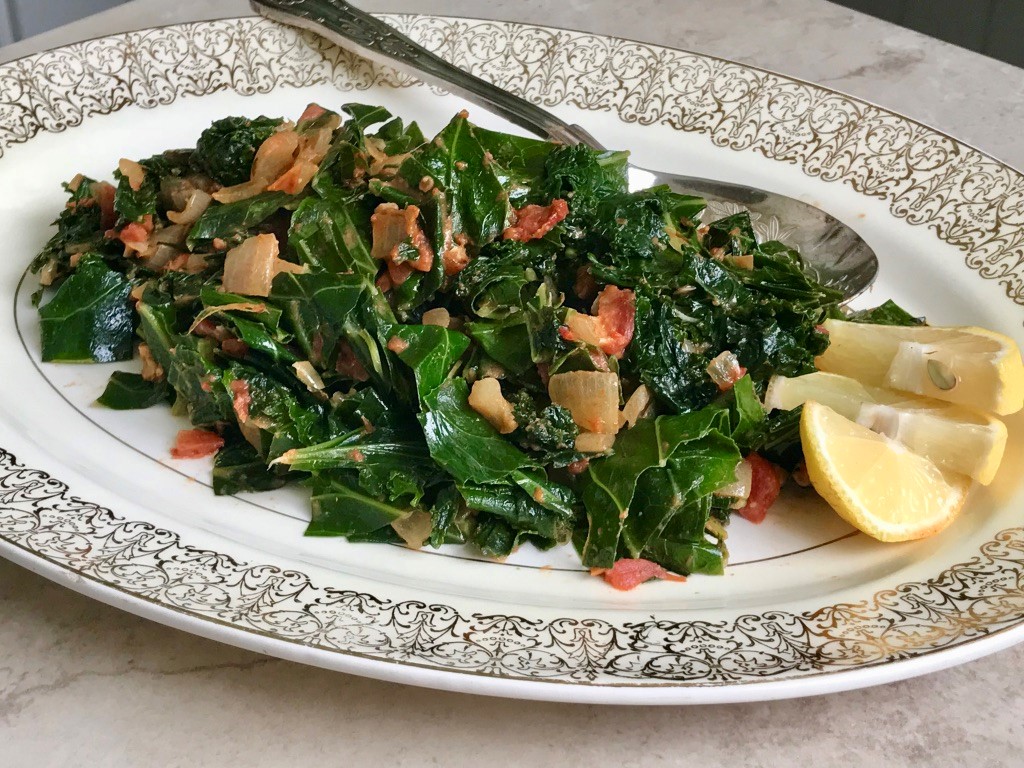
“Sukuma Wiki” is a Swahili phrase roughly translated as “stretch the week,” meaning that when the larder is low or when meat is scarce, you can always scrounge up some greens and make this simple braise. You’ll often find this paired with “Ugali” or cornmeal mush. Personally, I could eat kale every day of the week, so it is not a “stretch” for me. 😉 I’m glad to have a new recipe to add to my kale repertoire!
Feel free to use any kind of sturdy green for this dish – kale and collard greens are great, chard too. Spinach might be a bit too delicate. I’ve added the optional peanut butter just for fun. So many African recipes include peanut butter, and I thought it would lend itself very well here with the tomatoes and greens.
Ingredients
1 medium onion, chopped, about 2 cups
2 tbsp. oil
1 lb. kale and or collard greens, or a combination, ribs removed and leaves chopped
2 tomatoes, chopped, about 2 cups
3 large cloves garlic, chopped or sliced
1 tsp. cumin seed, or 1 tsp. ground cumin
1 tsp. ground coriander
1 tsp. kosher salt
½ to ¾ cup water
2 tbsp. peanut butter (optional)
lemon wedges (optional)
Directions
Grab a large frying pan and add the oil. Add the onions and garlic after the pan has warmed up, and sauté over medium heat until softened. Add the tomatoes and simmer until they start to break down, just a few minutes, then add the cumin, coriander and salt. Let everything simmer together for one more minute.
Add the greens to the sauté pan and mix well with the tomato mixture. Start by adding ½ cup of water, give it a good stir, place a lid on the pan and let simmer over medium heat for 5 minutes. Remove the lid and stir in the peanut butter. There should still be enough liquid in the pan so that this will all blend together smoothly. Cover pan again and continue to simmer for a few more minutes, or until the greens are as tender as you like them.
Turn out onto a platter and garnish with lemons if you like.
Country:
Kenya
Notes and Instructions
Recipe and photo credit: Linda McElroy